Over the 4th of July weekend (I know, I'm a little slow updating the blog) we picked more cherries - 65 pounds!
We picked Rainiers and Bings, although the Bings were few and far betweeen.
I spent two days pitting (did have help with that) and canning. Cherries are my least favorite canning project, but they are so good!
I have two different style cherry pitters. With the one pictured, you hit the plunger with the palm of your hand and it impales the cherry and pushes the pit out. Pretty cool, except it doesn't work all that well and doesn't always take out the pits. And it totally failed on the huge Rainiers. Ended up having to use my hand pitter (looks like funny plyers) for most of the pitting.
The recipe I used to can them is here:
Canned cherries
An average of 17½ pounds is needed per canner load of 7 quarts; an average of 11 pounds is needed per canner load of 9 pints.
My canner only holds 7 pints - so I figured 8 3/4 pounds for 7 pints (half of 7 quarts).
Stem and wash cherries. Remove pits if desired. If pitted, place cherries in water containing ascorbic acid to prevent stem-end discoloration.
I forgot to purchase ascorbic acid for this project (available around here at the local health food store and the local beer/wine making supply shop). Instead I used vitamin C tablets at the rate of six, 500 mg tablets per gallon. I used a mortar and pestle to crush them.
Last year I canned only bings and did not pretreat to prevent browning. I think they are so dark, it doesn't matter. Rainiers on the other hand, are light colored and would turn an icky brown if not treated.
**Note, pretreating for browning is a quality issue and not a safety issue. Not treating would make for an unappetizing looking product. If processed PROPERLY, it would be safe to eat. Not processing for the prescribed amount of time would be a SAFETY issue.
I used one of my 5 gallon buckets to pretreat the cherries. I think this is a mix of Bings and Rainiers in the picture.
Cherries do not have to be pitted to be canned, but we prefer them pitted.
If canned unpitted, prick skins on opposite sides with a clean needle to prevent splitting.
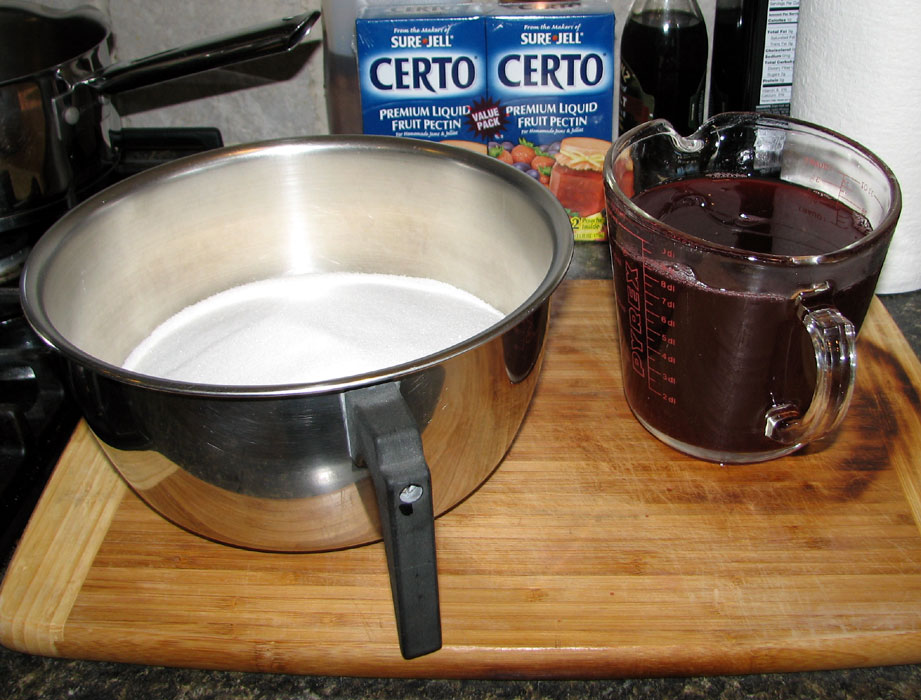
I opted to use a light syrup 20% sugar, 80% water to can the cherries. I used 4 1/2 water and 1 1/8 cups sugar (half the recipe for 7 quarts).
Cherries may be canned in water, apple juice, white-grape juice, or syrup. If syrup is desired, select and prepare preferred type as directed.
Besides adding sweetness, sugar helps retain color and texture. The use of sugar (or not) is a quality and personal preference issue, not a safety issue.
Next choice, is hot pack vs. cold pack and I opted for hot pack. Again, personal preference. Hot pack is a little more work (but not that much compared to the task of pitting the cherries). With the hot pack method, the fruit doesn't float so much in the jar.
Hot Pack - In a large saucepan add ½ cup water, juice, or syrup for each quart of drained fruit and bring to boil. Fill jars with cherries and cooking liquid, leaving ½-inch headspace.
Cold Pack - Add ½ cup hot water, juice, or syrup to each jar. Fill jars with drained cherries, shaking down gently as you fill. Add more hot liquid, leaving ½-inch headspace. Adjust lids and process.
Processing time for hot vs. cold are different. I processed the hot packed pints in a boiling water bath for 15 minutes (for an elevation of 0-1000 feet). Cold pack processing time for pints at 0-1000 feet is 25 minutes.
Always check the processing time!
Here's the final product! I ended up with
21 20 pints of canned cherries, several freezer containers of cherries, 11 half-pints of cherry jam, 7 quarts of pie topping, a jar of dried cherries and 2 desserts.
One pint of the cherries didn't
seal and I didn't notice it until the next day. However, it was within 24 hour, so it was okay and it ended up in our oatmeal.
If a lid fails to seal on a jar, remove the lid and check the jar-sealing surface for tiny nicks. If necessary, change the jar, add a new, properly prepared lid, and reprocess within 24 hours using the same processing time. Headspace in unsealed jars may be adjusted to 1-½ inches and jars could be frozen instead of reprocessed. Foods in single unsealed jars could be stored in the refrigerator and consumed within several days.
It may take me a few more days to find my canning mojo - in the mean time I other things to catch up on (besides house cleaning, blech).